We in the AVA project often face cases, when people like the project and want to contribute, but they haven’t done it before and don’t have much git and GitHub experience. It may seem annoying, but we think this is a good thing. We encourage developers to contribute by being nice and welcoming, pointing them to tutorials or even writing a simple list of steps ourselves.
We were all beginners sometime ago and we shouldn’t put ourselves above them. It feels amazing to give back to the community and help developers by pointing them out to the right direction.
It’s never been easier to contribute to the project you love and be a part of the community behind it. In this post, I want to create an easy to follow go-to guide to making your first contribution using git and GitHub.
Find a project you use frequently
This is step zero. Pick a project you use daily in your work and make it better for yourself and others. This simple tip will actually drive your motivation to contribute, as you are basically scratching your own itch.
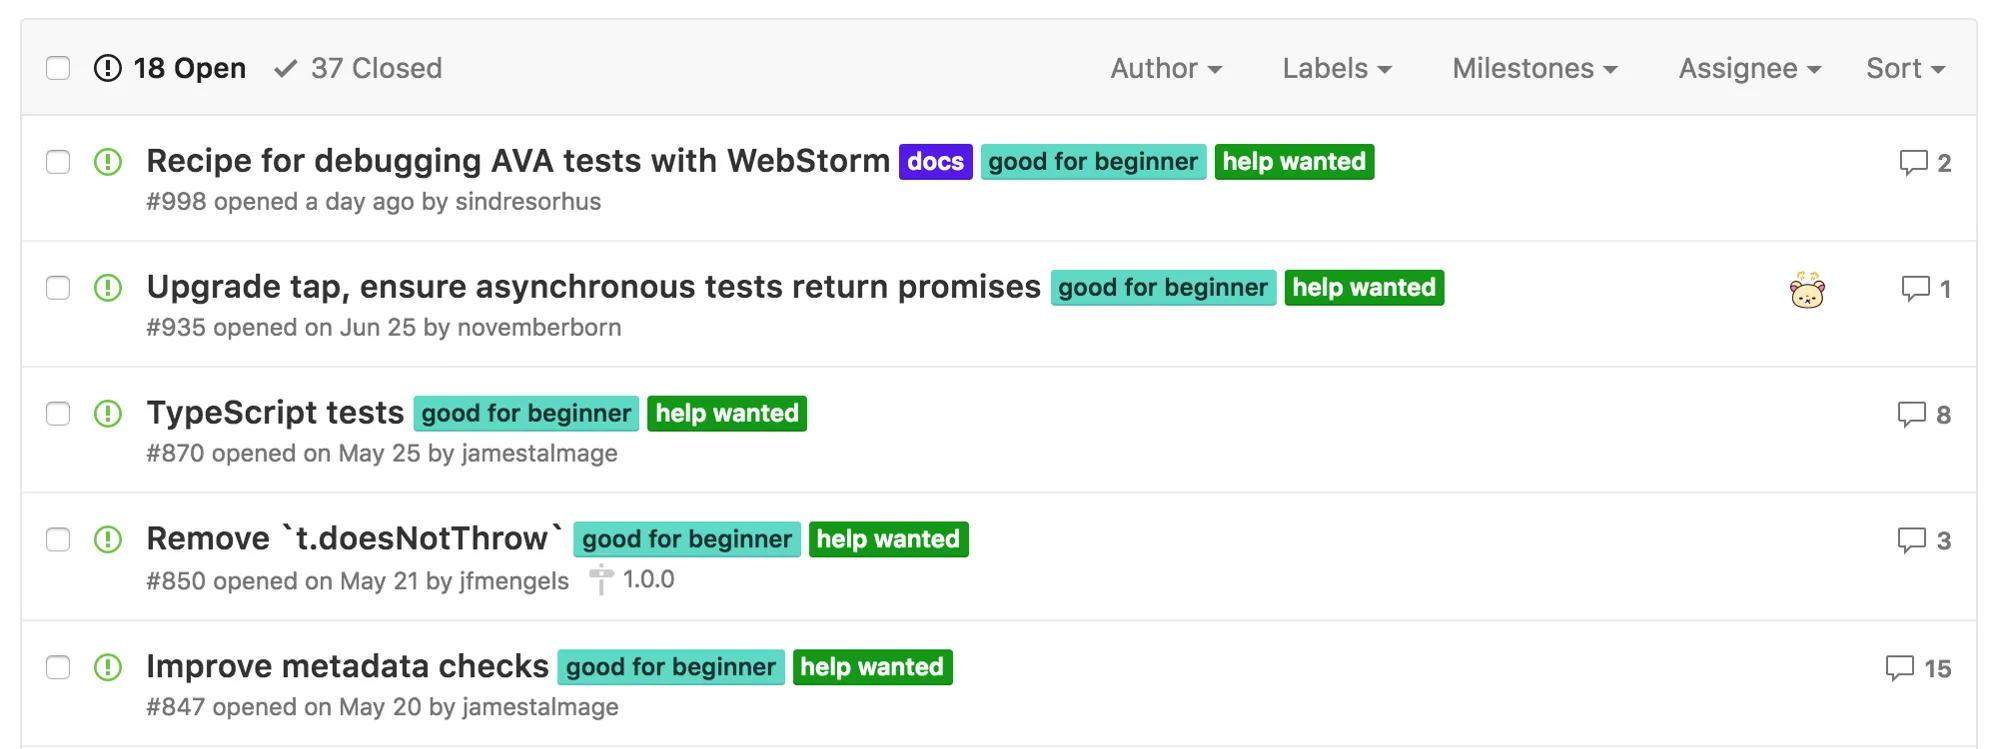
Go to its GitHub repository and scan its issue list. Your first contribution does not have to be a major feature, it can be as simple as improving documentation, fixing minor bugs, etc. The point of this is to move forward, learn new things and make you unstoppable with your pull requests!
Modern projects even have a “good for beginner” or “good first contribution” labels to make your search even easier. There’s also an awesome-for-beginners list of projects, that have beginner-friendly issues.
Choose an issue you want to solve
When you’ve found an issue you’d like to fix, make sure there’s no pending pull request for it and there’s no one assigned already. If there’s someone assigned but there wasn’t any progress in a while, feel free to ask whether you can pick it up.
Don’t worry if you have doubts about your implementation. Post your thoughts on that issue and wait for the feedback from the project’s team members. Discuss and agree on implementation together, so that you don’t waste time on creating pull request, that will be rejected.
Contribution guidelines
Before you start coding, read the contribution guidelines. They’re usually located in “contributing.md” file. There’s a ton of useful information about submitting issues and pull requests.
People often ignore these rules, but it is important to follow them, in order to submit high-quality contributions.
Time to rock!
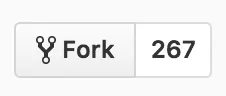
Finally, it’s time for an actual work, let’s get going! I can’t add code to the original project repository, so I need to have my own copy of it. Fork the repository to create a clone you have full access to. A repository with identical name will be created under your GitHub account.
Next, clone the repository using git clone command.
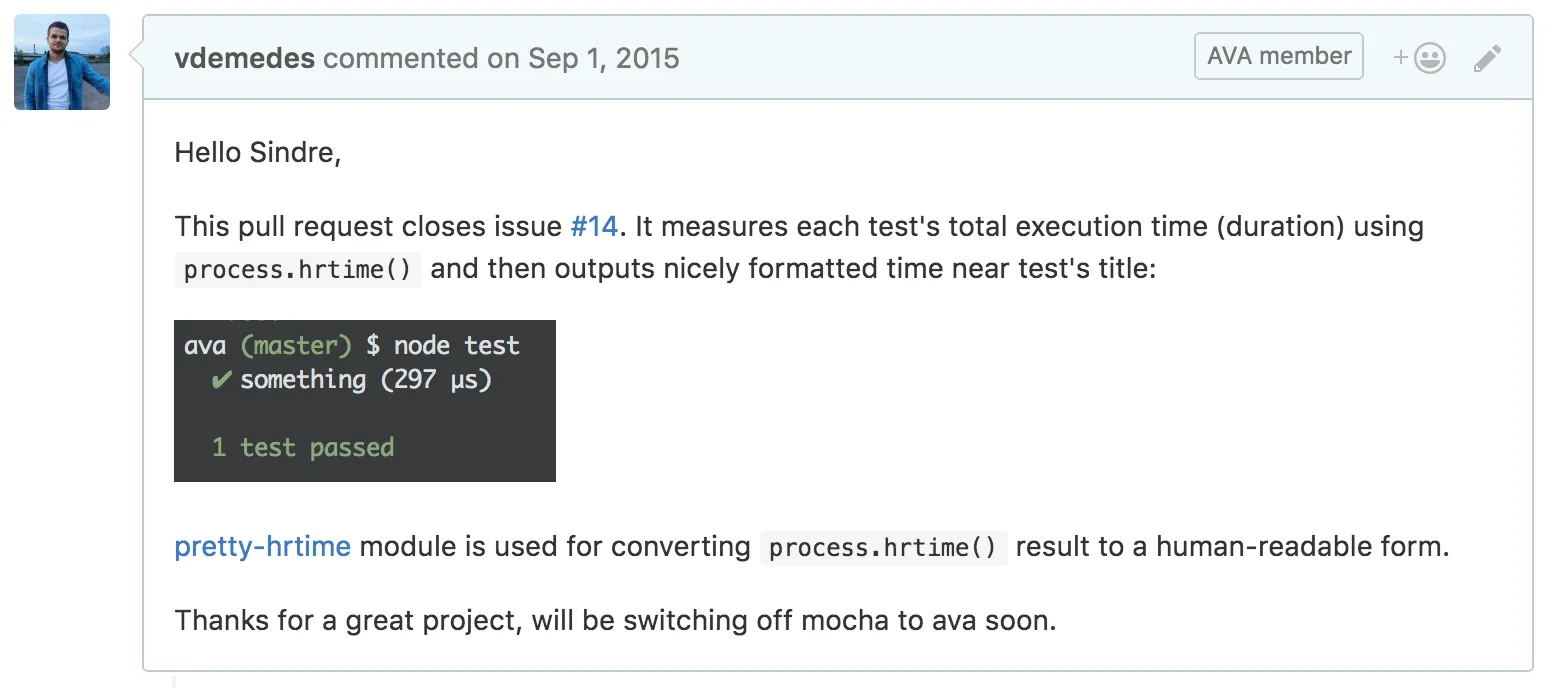
For this guide I’m going to use my first pull request to AVA as an example. It was a simple feature — display time spent for each test alongside its title. Let’s imagine we’re doing that same change and repeat the commands required to contribute these changes. The commands are essentially the same for all of your future changes.
First, create a branch with an easy to understand name. A good name is only for you, to make that branch easier to find and understand what’s in it. You should use a new branch to keep your changes separated from the “master” branch, in case you are working on multiple features at the same time. After you create it, you will be switched to this branch automatically.
Next, make the changes you’ve discussed earlier in a GitHub issue and commit them. After you verified the correct behavior of your code, don’t forget to write a test for it, because you will be asked to do so anyway by the project’s team.
Now why do we need to write tests? We just confirmed the code is working and life is good. Project maintainers need tests for your code, because it might break in future or under unexpected circumstances. It feels boring, but once you make it a habit, it’s not that big a deal.
When you’re done, commit the modified files and make sure to write a short & clear commit message.
Submit your changes for review
It wasn’t that hard, was it? Your first contribution is ready to be reviewed by the project’s team! But first, you need to push your changes and create a pull request, so that team members can actually see the work you’ve done and want to merge into the “original” repository. To do so, go to the project’s repository and you should see a helpful message from GitHub to submit a pull request.

Final step: click “Compare & pull request” button to create a pull request. Make sure to write a meaningful, short and simple title and a clear explanation of what this pull request improves. Also, reference the issue you are fixing by inserting “This PR fixes #123” into the post body, where “123” is an issue number.
What’s next?
When the team reviews your pull request, they are most likely going to have comments, remarks or questions about the code. It’s a rare case, when someone’s pull request gets accepted without any modifications. You have to understand there’s nothing wrong with people questioning your code and approaches you’ve implemented.
This project is basically a baby, which team members constantly maintain. They need to check each change thoroughly, because it will affect thousands of users afterwards. You might also get a “no” in response to your changes and that’s fine. If maintainers implemented every feature people ask for, that project would quickly become big and unmanageable.
Prepare for the feedback, collaborate, update your changes and your pull request will be merged in. Believe me, it’s an amazing feeling. Unfortunately, it fades away with time, so make sure to contribute a lot and enjoy every bit of it!
Conclusion
Don’t be afraid to contribute.
Contribution is not just code. It’s a feedback in GitHub issue, comment on someone’s pull request, your insights and ideas about the features you’d like to see implemented. Even better, when you implement your ideas and see them go live on the next release.
Make your first contribution and I promise you, your second one will not wait for itself.
P.S. If you are looking for a more in-depth guide, check out “How to Contribute to an Open Source Project on GitHub” — an awesome video course consisting of short sized videos by Kent C. Dodds.
Thanks to Sindre Sorhus for extensively reviewing this post.